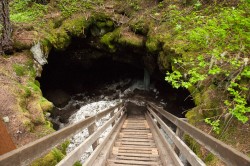
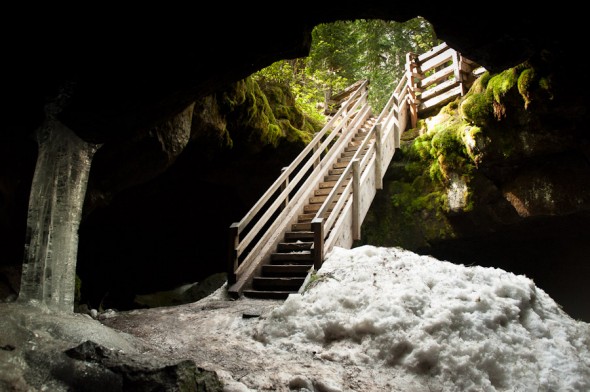
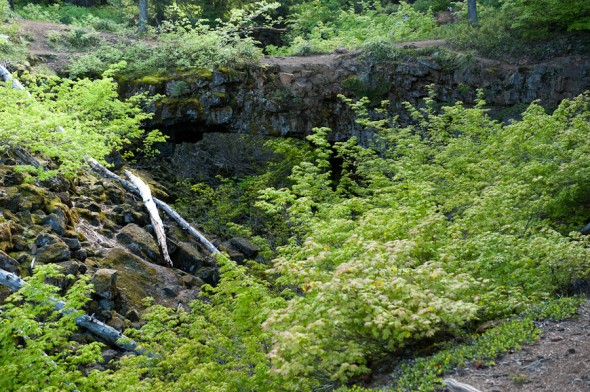
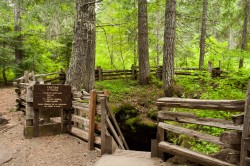
 The forests that surround the volcanoes of the Pacific Northwest hide many lava tubes. In fact, due to the Federal Cave Protection Act and a human-spread bat pathogen, the NFS rangers will not disclose the location of most of these caves. Fortunately, the Guler Ice Caves are an exception, with a parking lot, restroom and stairway to the cave floor conveniently provided. Of all the lava tubes I’ve explored, these caves are, by far, the most impressive due to their intricate ice formations that last until early summer. Each year the ice melts and reforms into unique sculptures making the caves worthy of repeat visits. We arrived in June when most of the ice had melted, however we still found much to see and photograph. A signpost near the cave describes how it formed:
Ice Cave… is a lava tube which probably was formed during a pahoehoe basaltic lava flow of the late Pleistocene or Recent geologic time. The ice floor, a few ice stalagmites, and large drip masses of ice form during the winter from the freezing of dripping water. Although much seasonal melting occurs, these persist throughout the year. This phenomenon occurs because the lower eastern end of the cave acts as a trap to retain heavy cold air which has settled into the cave during the winter.
Apparently the caves have been known about for some time as Native Americans used them to store huckleberries and obtain fresh water. When the pioneers moved into the area to found Hood River and The Dalles, cave ice was harvested to chill drinks at the local taverns.
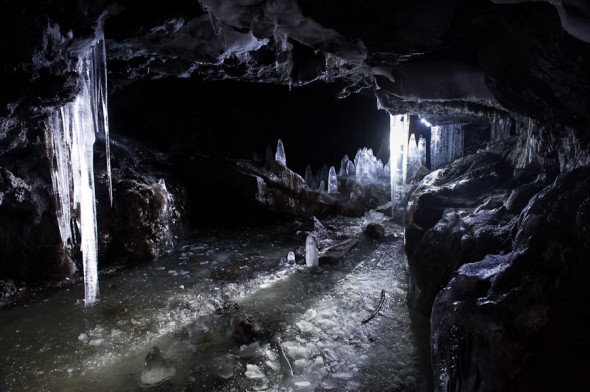
The cave floor is basically covered in a thin layer of ice, making it incredibly slippery and easy to sustain an injury. Knowing the risks I still decided to bring my SLR camera and a tripod in an attempt to photograph the ice formations. The technique was fairly simple in theory but difficult to execute due to the rough terrain and darkness. With patience and some frustration, we back-lit the ice with our flashlights and then set up the tripod so we could perform a long exposure at fairly low ISO. The flashlights had to be held such that they illuminated the ice by dispersion rather than creating a focused area of light that would overexpose.
Immediately after entering the cave, we were greeted by a large column of ice leading to a flooded room. This room featured impressive sculptures on the far side of its ice-cold subterranean pond. The only way to reach the scupltures was by traversing an icy ridge against the far wall. After setting up the tripod and dialing in the proper exposure I attempted to cross to the other side. My attempt was immediately met with failure as I lost my footing and submerged my left foot in ankle-deep water. Eventually I was able to utilize natural handles in the rock to pull myself across since I couldn’t find a stable foothold. Little Red Hen was impressed with my feat of athleticism but I’m just happy that my work in the gym came in handy. Once I reached the far side of the room I was able to light the sculptures so our photography session could commence.
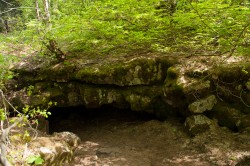
We spent some time photographing the ice grotto and moved deeper into the cave, snapping a photo of the entrance before moving onto another set of sculptures. While this group of ice formations wasn’t adjacent to a freezing pond, it did feature some tight crawlspaces that my wife braved so that she could light them.
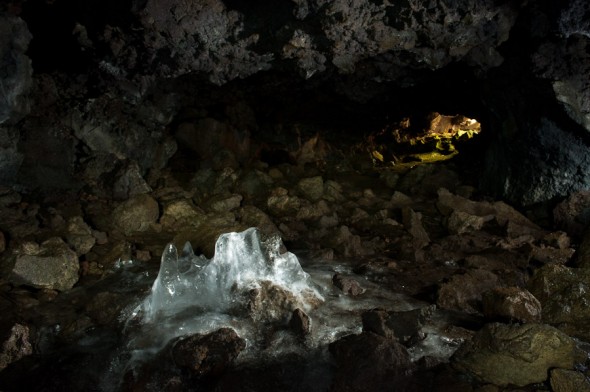
Moving further into the cave, the temperature rose by a few degrees and consequently there was very little ice to be found. Ice still clung to the floor and I lost my footing for the 15th time. Again, I was fortunate to have something to grab onto, but my feet slipped completely out from under me. I had both hands on adjacent rocks at the time of my fall, putting a great deal of strain on my shoulders. Perhaps it was due to the military presses and push presses I was doing the day before, but my shoulders are still sore from this fall. The exit to the cave came into view and we used a long exposure in conjunction with flashlights to paint the room leading to the exit. A single, lonely stalagmite clung to the rocks here, one last vestige of the frigid wonderland as the days of June press on.
What to Bring
 Based on our visit to the Ape Caves, I compiled a list of helpful stuff to gather before heading out on a spelunking expedition. Given our experience in this cave I’m going to recommend the following additions:
- Flashlights: Make sure you have something fairly powerful with an output of 200 lumens or greater. It doesn’t hurt to have a primary and backup flashlight since the caves are pitch black. A powerful flashlight will help you to see the features of the caves better and make the ice sculptures glow. I used a Surefire P2X Fury and my wife used a Surefire 6PX Pro. Both of these lights are very compact and provide a powerful beam. Both flashlights have a lanyard which proved incredibly useful for the many times when we needed both hands to navigate rough terrain.
- In order for ice formations to remain, the ambient temperature must be less than 32 degrees F. This is cold, so bring warm clothing (including a hat and snow gloves). If you intend to walk through the ice cave to the exit, wear waterproof boots with excellent tread. I have a pair of Danner hunting boots that kept my feet dry after they broke through a layer of thin ice hiding ankle deep water.
- This cave is very short, so you won’t need to take food or water. Do consider taking a camera though since the ice formations are amazing and worthy of being photographed.
- A hard hat is not necessary but recommended. The ceiling of this cave is very low in some spot and it wouldn’t be difficult to hit your head while trying to navigate the slippery floor.
Don’t Miss the Natural Bridges
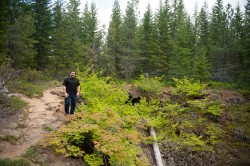 Less than a mile away from the entrance to the ice caves are a series of natural bridges formed when most of the lava tube collapsed except for a few strong spots. The bridges are only a short walk from a small parking area and include several hiking trails that you can use to thoroughly explore the area. From the Guler Ice Caves parking lot, head north back to NF-24 and turn left, heading west. Take your first left onto NF-041 and then your first right. The location is marked with signs, so it should be hard to miss. We were running a bit late when we arrived, so we ran from our car to the bridges and snapped a few photos before heading home. I’m planning to return to this area so I can explore it in more depth.
